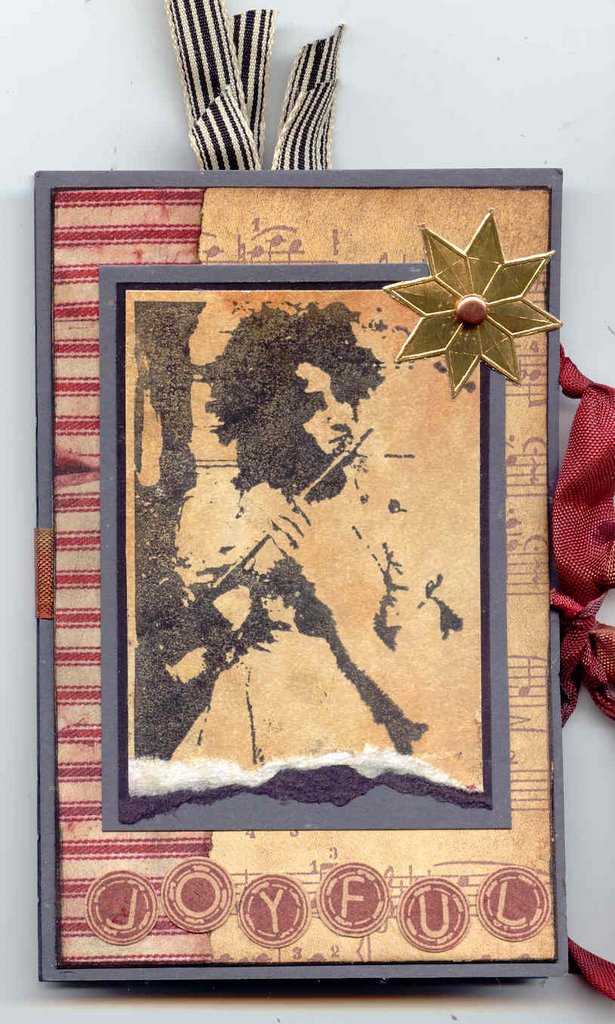
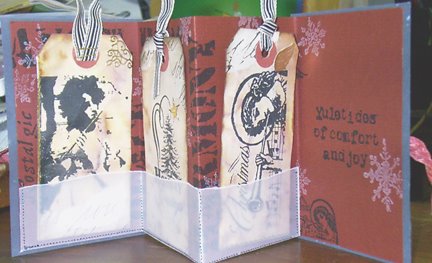
‘JOYFUL’ Tag Booklet
Happy Holidays Sheet 3AA http://tinyurl.com/d73vo + Snowflakes from Autumn-Winter Season plate http://tinyurl.com/afsky
Cut out a 12 x 5 inch red card. Make a concertina fold. Cut two 5 ¼ x 3 ¼ inch grey card for covers. Stamp the large words in black, small angel and wings and message to one side of the red car. Stamp snowflakes around with white, or a light coloured pigment pad. Tear a strip of vellum to cover three of the panels and sew in place to form pockets for the tags. Cut two pieces of music paper to suit front and back covers. Sponge edges with distress inks to age. Glue to grey card. To one cover, glue a strip of red strip paper to the left. Lay red ribbon around red card. Stick d/s tape top and bottom to allow ribbon to slide through freely, and stick front and back covers in place. Age white card with distress inks. Once dry, stamp girl with black permanent ink. Trim, tearing bottom. Mount to black paper and tear the bottom again. Mount this to grey card and glue to front cover. Attach gold star sticker with copper brad to corner.
Stamp Joyful with maroon ink onto beige paper, punch out letters and glue to bottom of front cover. Age 3 tags with distress inks and let dry. Stamp girl large tree and large angel with black ink. Embellish with gold stickers and attach black and cream stripe ribbon. Pull red ribbon and tie a bow to finish and insert tags.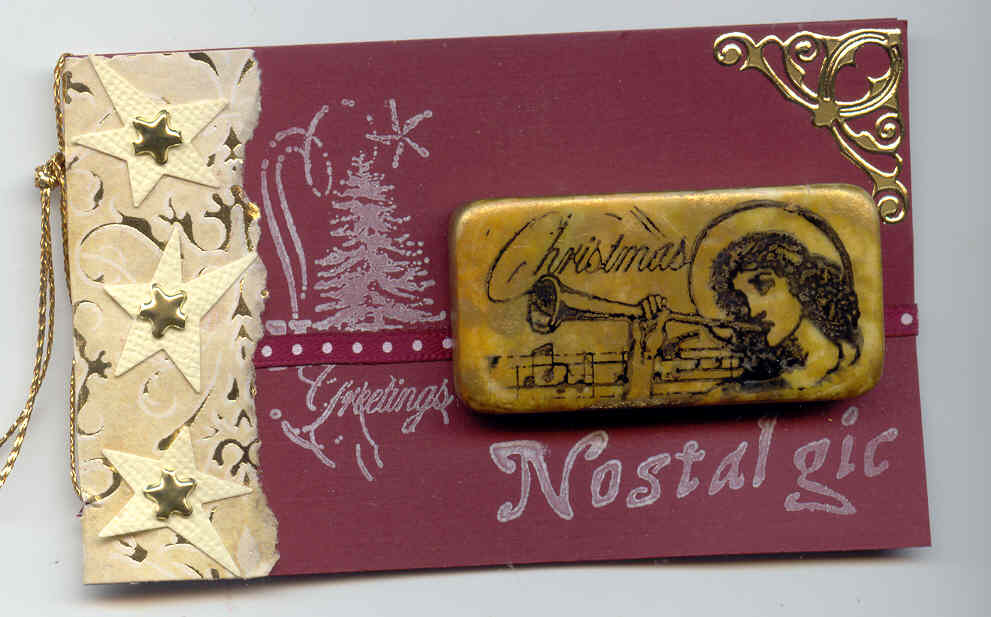
‘NOSTALGIC’ Booklet
Happy Holidays 3AA stamp sheet http://tinyurl.com/d73vo
Create a small note book from Maroon card and insert a few light coloured pages to suit.
Stamp small Holiday greetings tree image just left of centre and Nostalgic to bottom right corner using white or a light coloured pigment ink pad. Glue ribbon across card to cover the word Holiday. Attach gold foil corner sticker to top right corner. Apply alcohol inks to a domino and stamp small angel with Stazon once dry. Edge domino with gold Krylon. Cut some gold foil paper to suit, tearing front edge. Glue to note book as shown and then attach gold tinsel cord to trim.
Punch out 3 stars from cream card and attach small gold star brads to centre. Glue over foil paper. Glue domino in place.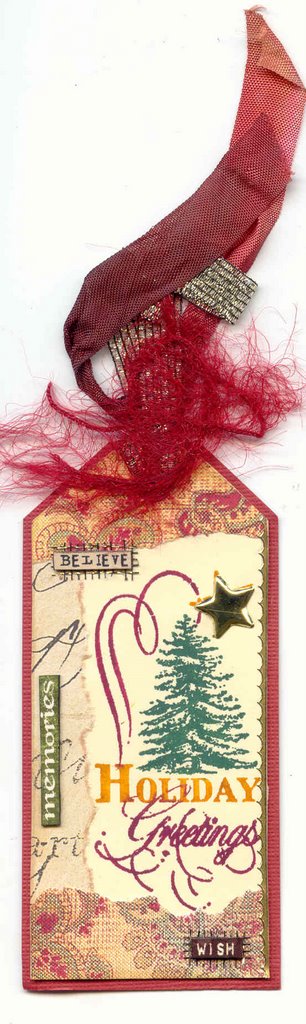
‘HOLIDAY GREETINGS’ Tag
Happy Holidays 3AA stamp sheet http://tinyurl.com/d73vo
Make a cream tag. Ink large Holiday Greetings image using Marvy Thick Brush Markers directly to the stamp. Stamp in the middle right of the tag. Glue torn papers to the top, bottom and left side. Attach a gold star brad over the star image. Stick a gold sticker border down the right side of the tag and then layer to a larger red tag to suit. Cut out some Tim Holtz Doo Dad words and edge then with a black marker and glue them to the tag, some over mesh. Add some ribbons and threads.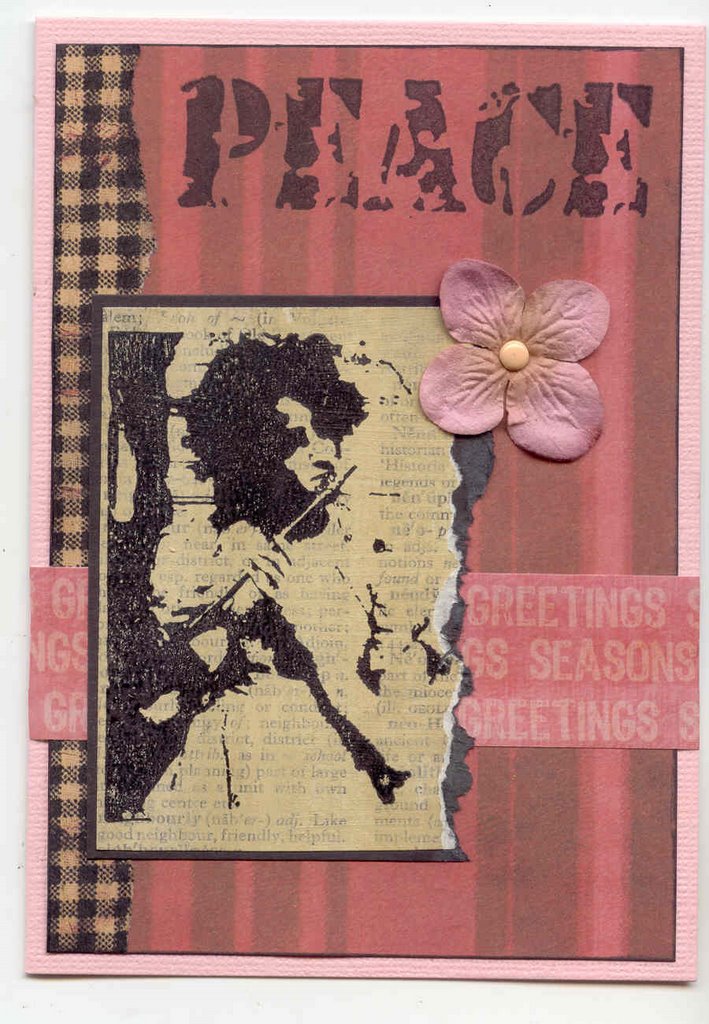
‘PEACE’ Card
Happy Holidays 3AA sheet http://tinyurl.com/d73vo
Paint dictionary paper with cream and gold acrylic paints and allow to dry. Stamp girl over top with black permanent ink. Trim and tear right edge. Layer to black paper. Stamp Peace in black ink at the top of some red stripe patterned paper. Glue torn black and kraft checkered paper down left side. Glue this to the front of a pink folded card. Glue a piece of Christmas wording paper across card. Glue girl over top. Attach a pink brad to the centre of a pink flower and glue to card.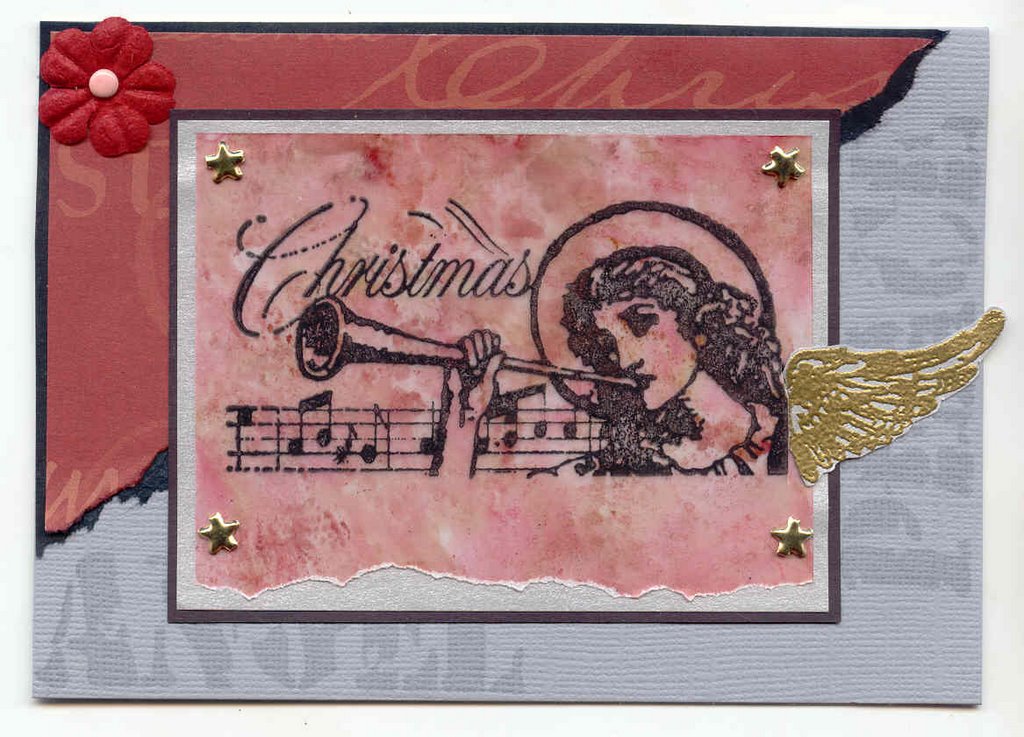
‘CHRISTMAS’ Card
Happy Holidays sheet 3AA http://tinyurl.com/d73vo Wing stamp is from this sheet as well! How clever!
Create the alcohol ink background on vellum (as per other samples). Allow to dry and flatten.
Stamp large Angel with black ink over top. Tear bottom edge. Attach to silver card with gold star brads. Layer this to large black paper. To the front of a folded grey card, stamp Angel and Peace with clear resist ink. Attach black and red patterned paper with a torn long edge to top right corner of card. Gold emboss a wing (from rubber sheet) onto silver paper and cut out. Attach gold wing and flower and brad to card as shown.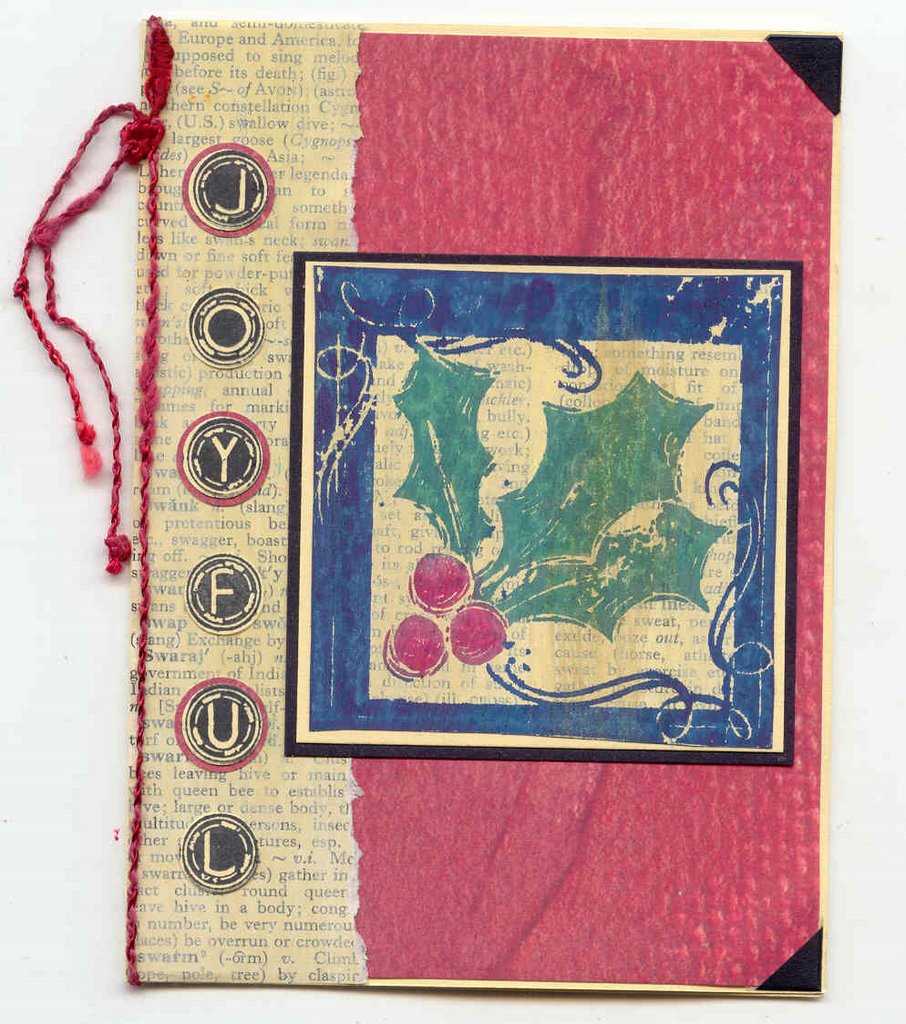
‘JOYFUL’ Card
Angelical Holidays http://tinyurl.com/ + JOYFUL from Happy Holidays sheet http://tinyurl.com/d73vo
Paint dictionary paper with ivory and gold acrylic paints. When dry, ink Solid holly image with Thick Marvy Markers and stamp onto painted paper. Cut out and glue to cream then black paper. Cut a piece of red patterned paper slightly smaller than the front of a cream folded card. Attach a black photo corner to the right top and bottom corners. Glue to the front of the cream card. Cut a piece of the painted dictionary paper to suit left side and tear the right edge. Glue to left of card. Glue holly piece to centre. Stamp JOYFUL with black ink onto cream card. Punch out. Layer the J, Y and U onto larger punched red circles. Arrange and glue down the side of the card over the dictionary paper. Attach red fibres.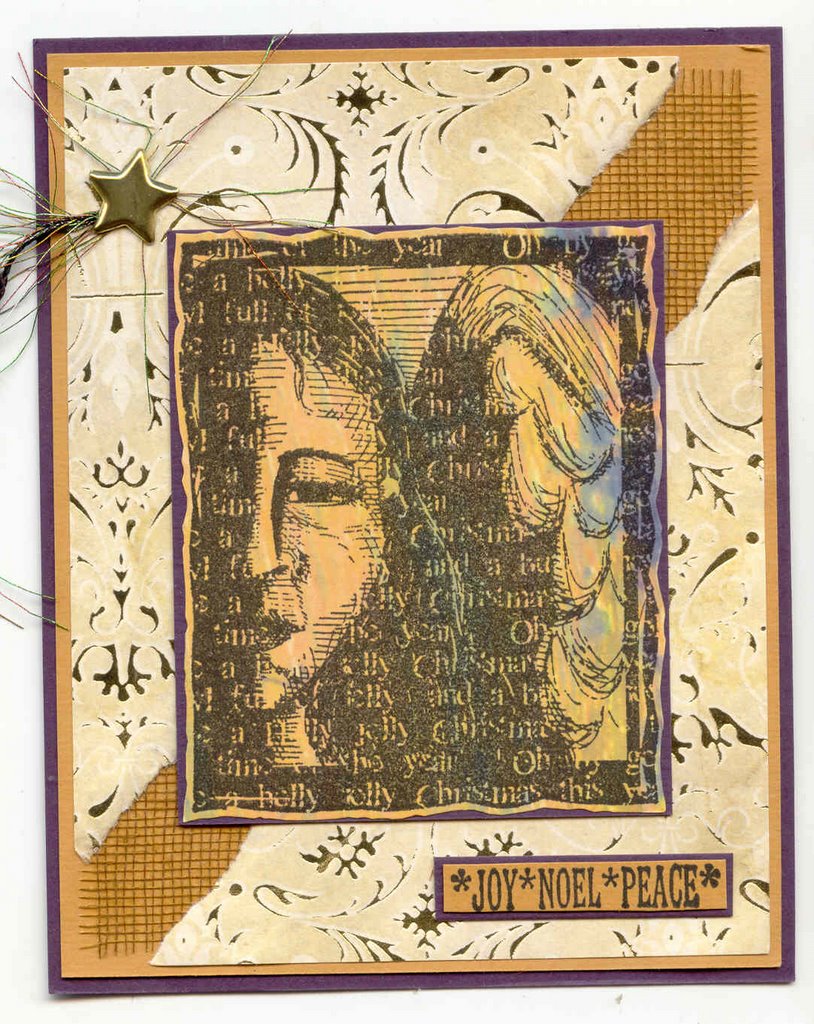
‘JOY NOEL PEACE’ Card
Angelical Holidays Stamp Sheet http://tinyurl.com/d9klc
Holiday Word stamps (future ISC stamp sheet)
Stamp large Angel onto yellow patterned paper and cut out. Glue to a large piece of black paper.
Take an ochre coloured piece of card, glue some brown mesh to and torn gold foil paper to corners. Attach multi coloured eyelash ribbon with star brad to top left corner. Glue Angel to centre. Stamp on scrap ochre card using black ink, Joy, Noel and Peace wording. Trim and glue to black paper. Glue this to bottom right corner.
‘MERRY CHRISTMAS’ - ATC
Angelical Holidays sheet http://tinyurl.com/d8klc
Create a background using various alcohol inks and blending solution onto vellum. Allow to dry and flatten. Stamp Merry Christmas angel using black permanent ink onto vellum. Create a sticker using a xyron machine. Glue white card 2 ¼ x 3 ¼ inches and trim. Glue torn gold foil paper to top. (Penny Black) and printed tape measure to bottom. Attach to a red ATC. Glue gold star sticker to top left corner.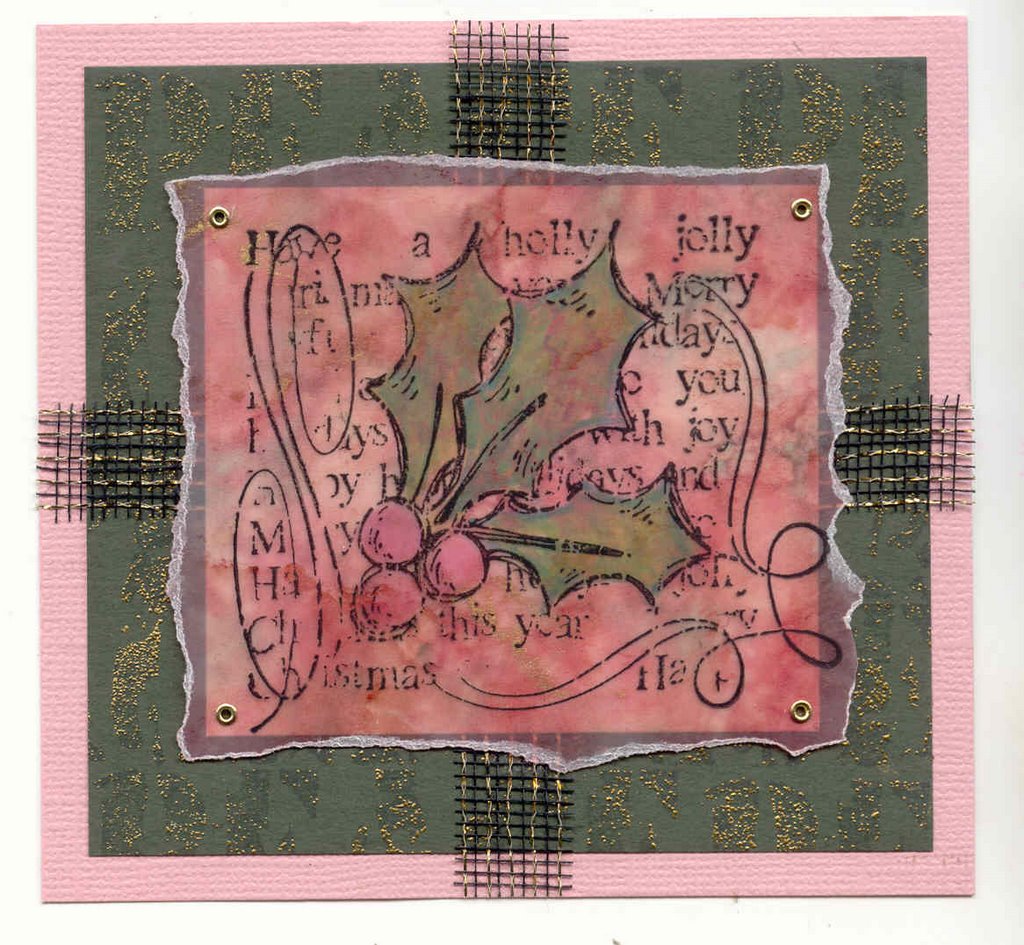
‘JOLLY HOLLY’ Card
Angelical Holidays + http://tinyurl.com/d8klc background stamp Peace from Happy Holiday’s 3AA sheet http://tinyurl.com/d73vo)
Create a background on vellum using Raison, Mushroom and Butterscotch Alcohol inks, blending solution and a little Gold Kryon Pen. Allow to dry and flatten. Stamp holly image with black permanent ink onto vellum. Tear edges. Colour holly from the back using brush markers.
Attach to a slightly smaller piece of white card using tiny gold eyelets. Stamp any background or large wording stamp, with clear resist ink over a piece of olive card. Sprinkle with gold embossing powder, but do not cover entirely. Heat to emboss. Layer to a larger folded pink card. Cut a strip of black and gold mesh and glue in a cross formation. Glue holly piece to centre.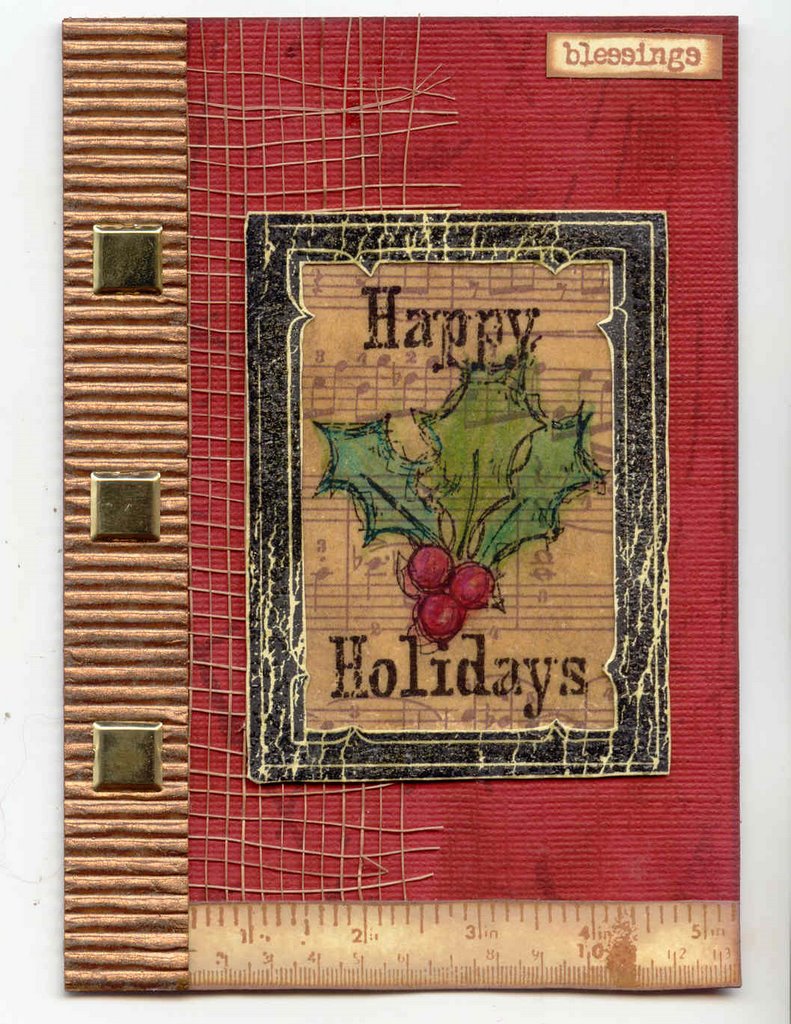
‘HAPPY HOLIDAYS’
Angelical Holidays http://tinyurl.com/d8klc
+ ATC Elements II, ATC Artsy Backgrounds, and 74 Words for Ribbons
Stamp Happy Holidays using black permanent ink onto music patterned paper and cut out.
Colour holly with pencils. Dab a clear resist pad (or similar) over top and cover with thick embossing powder. Heat to melt. Stamp Happy Holidays again using the black ink onto pale yellow paper, emboss as above and cut out frame only. Glue over top of holly image.
To the front of a red folded card, stamp scratchy background image over card using sepia ink and sponge edges. Glue open bronze mesh to left side. Stamp tape measure using sepia ink onto pale yellow card, cut out and sponge. Glue to bottom edge. Repeat with blessings stamp from word sheet and glue to top right corner. Cut a strip of bronze ripple board and attach 3 gold square brads. Glue down left edge. Glue Happy Holidays image to card.
‘PUMPKIN TAGS’
Stamp Sheets: Autumn-Winter Season http://tinyurl.com/afsky + Textured Backgrounds: http://tinyurl.com/cz8j4
Black emboss Pumpkins to grey card. Trim to form two tags and attach checkered ribbon.
Colour with Perfect Pearls then layer to orange card. Stamp letterering background using Caramel ink down left side of a pale yellow card. Sponge edges with the caramel ink.
Cut kraft and black checkered paper to suit and tear left side of paper. Attach 5 orange brads to right side. Attach a strip of brown mesh to centre of card. Glue checkered paper to the right.
Attach tags to front of card.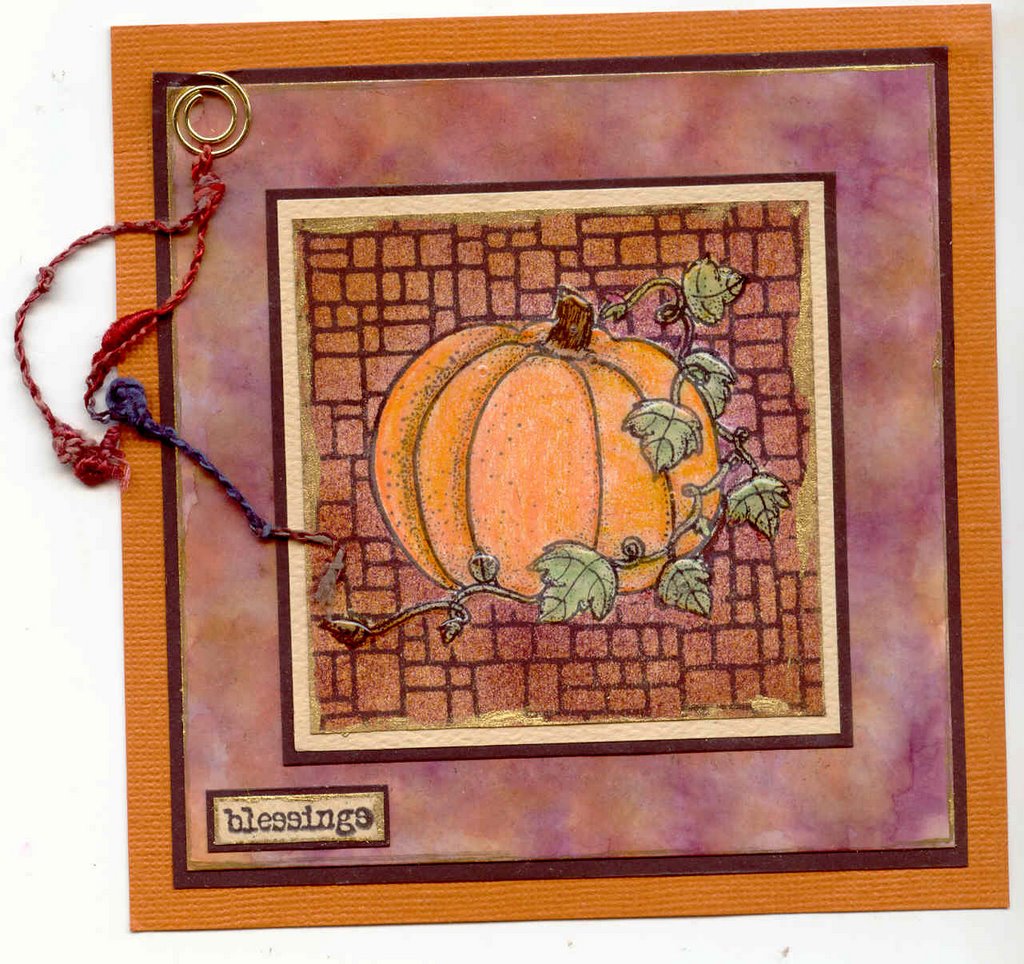
‘BLESSINGS’ Card
Stamp Sheets: Autumn-Winter season http://tinyurl.com/afsky + 74 Words for Ribbons http://tinyurl.com/y5nj3d and Textured Backgrounds http://tinyurl.com/cz8j4
Create a background using Butterscotch, Mushroom and Raison Alcohol inks and blending solution, on a square white gloss card. Edge with gold pen and layer to a larger piece of black paper. Using black permanent ink, stamp pumpkin onto a smaller square, light coloured card.
Mask pumpkin and stamp one of the patterned background stamps over top. Leave mask on and sponge using earth tone dye pads. Remove mask. Colour pumpkin with pencils, edge with a gold ink pen and layer to beige then black paper. Glue this to the alcohol ink background.
Attach a gold spiral clip and threads. Glue all to a folded square orange card. Stamp ‘blessings’ from the 74 Words sheet onto beige paper, trim, edge with gold pen and then glue to black paper. Glue to bottom corner of card. Highlight pumpkin using Glossy Accents.
Saturday, October 21, 2006
ISC Creative Architect Celeste S. part II September 2006 Holiday's and more
Posted by Create Arte at 11:09 AM